
Docking and Arranging Windows, Tables and Toolbars
Toolbars, tables and windows can be docked, freely moved about (floating) and their size changed.
Moving an interface element
-
Select the desired element such as toolbar, table or window,
-
left-click in the element's header bar and hold the mouse button pressed,
-
drag the element to the desired position within the workspace.
Image: Moving interface element
Docking an interface element
-
Left-click on the desired interface element's header and hold the mouse button pressed.
-
Depending on whether the 'smart docking' functionality under Customizing -> Application Look is checked (default) or not, the docking manner differs.
'Smart Docking' option checked:
-
When now slightly moving the element, an arrow cross appears on the workspace offering the possible docking positions (left, right, top, bottom and optionally centered) in the current area:
Image: Selection Cross

-
More docking positions (left, right, top, bottom) exist and are represented by a 'big' selection cross, shown on the screen's margins.
-
Drag the interface element onto the desired docking position.
Image: Place interface element

Note
The possible docking position of the user interface element is highlighted (for example in blue) when moving the mouse correspondingly.
'Smart Docking' option unchecked
-
Only the window's contour is displayed when docking:
Image: Docking without Smart Docking

-
To dock an interface element to its previous position, right-click in the element's header and select the Docking command from the displayed context menu.
The individually docked windows in the workspace (e.g. tree control elements) can be displayed/hidden or minimized/maximized thereby enlarging the workspace.
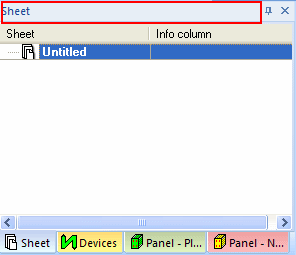
For one of these actions a pin or so-called x symbol exists in the header of the table or window: ![]() . The header is displayed in a tab when minimizing these interface elements. The elements can be displayed dynamically if required. Therefore simply move the mouse over the tab area. The window is automatically hidden as soon as another action is executed. To undo this effect and to permanently display the window, click on the pin symbol.
. The header is displayed in a tab when minimizing these interface elements. The elements can be displayed dynamically if required. Therefore simply move the mouse over the tab area. The window is automatically hidden as soon as another action is executed. To undo this effect and to permanently display the window, click on the pin symbol.
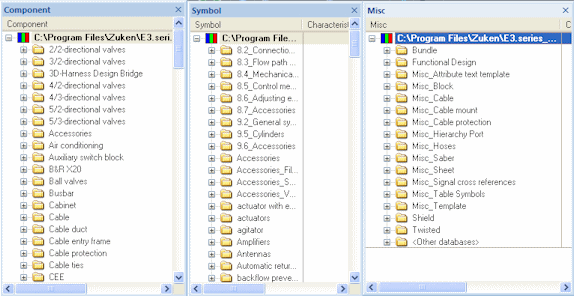
It's also possible to separately display several tabs. The example below shows 3 tabs of the Database tree view that were separated. This is of course also possible for the Project tree view and Output Window. To do so, simply select the desired tab onto the desired tab and drag it to any position within the interface by pressing the left mouse-button.
Image: Separated display of tabs
Hidden tabs are no longer displayed in the project after closing them by the x button. They can be redisplayed any time by using the main menu command View-> Database Windows -> Components, Symbols, or Misc. The same applies to the Project tree view and Output Window.